

If I Had It All To Do Over Again: The Thrashing Torso v.2.0
/
We live in interesting times.
3d printing is becoming a mature technology and can be very useful and making mechanisms. I once heard 3d printing described as a lifestyle enhancement. Speaking as someone who is tired of expending my valuable hours planted in front of a lathe or milling machine, I heartily agree.
Man hours are expensive. Robot hours not so much. The more work that can be delegated to some form of CNC (computer numerical control) machine, the better.
3d printing has its strengths and it has its weaknesses. The trick is to play up its strengths and avoid the weaknesses. Over the past several years I've been experimenting with 3d printing parts for animatronics mechanisms with mixed results. Sometimes plastic just won't do and metal fabrication comes back into the picture. However, there is a lot plastic can do.
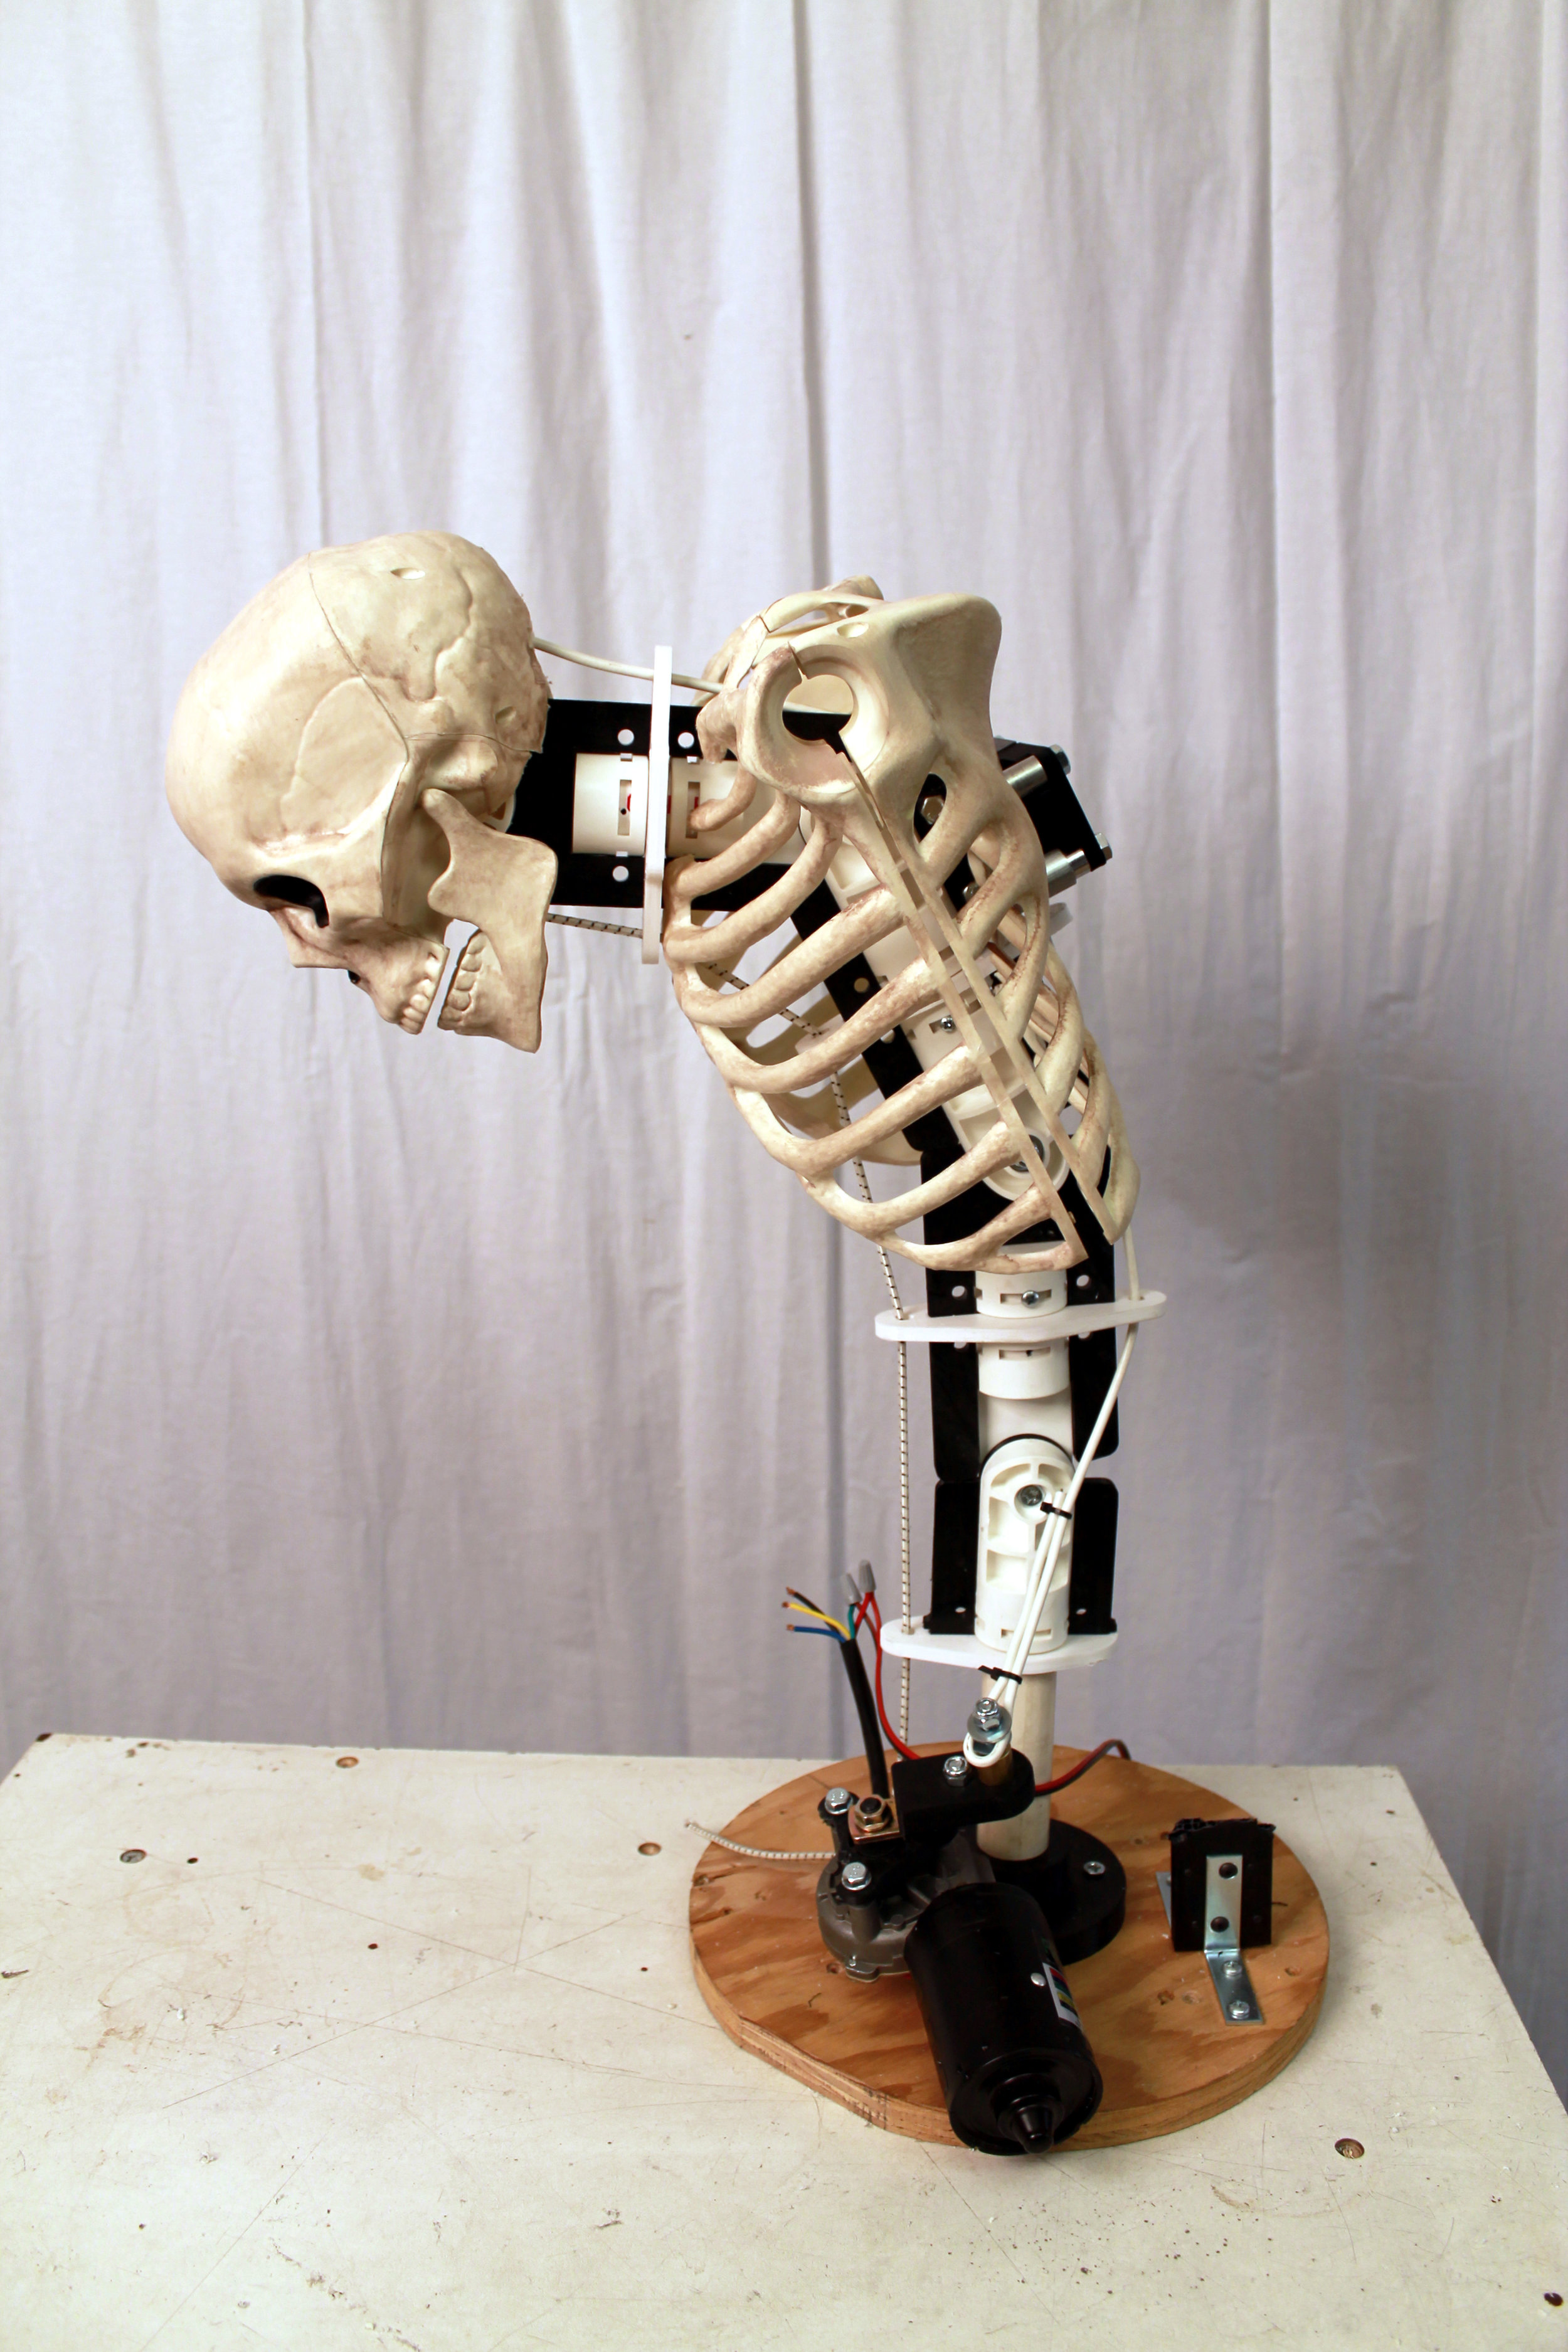
The New and Improved Thrashing Torso:

Since I built the original thrashing torso, all those years ago, a few things have changed.
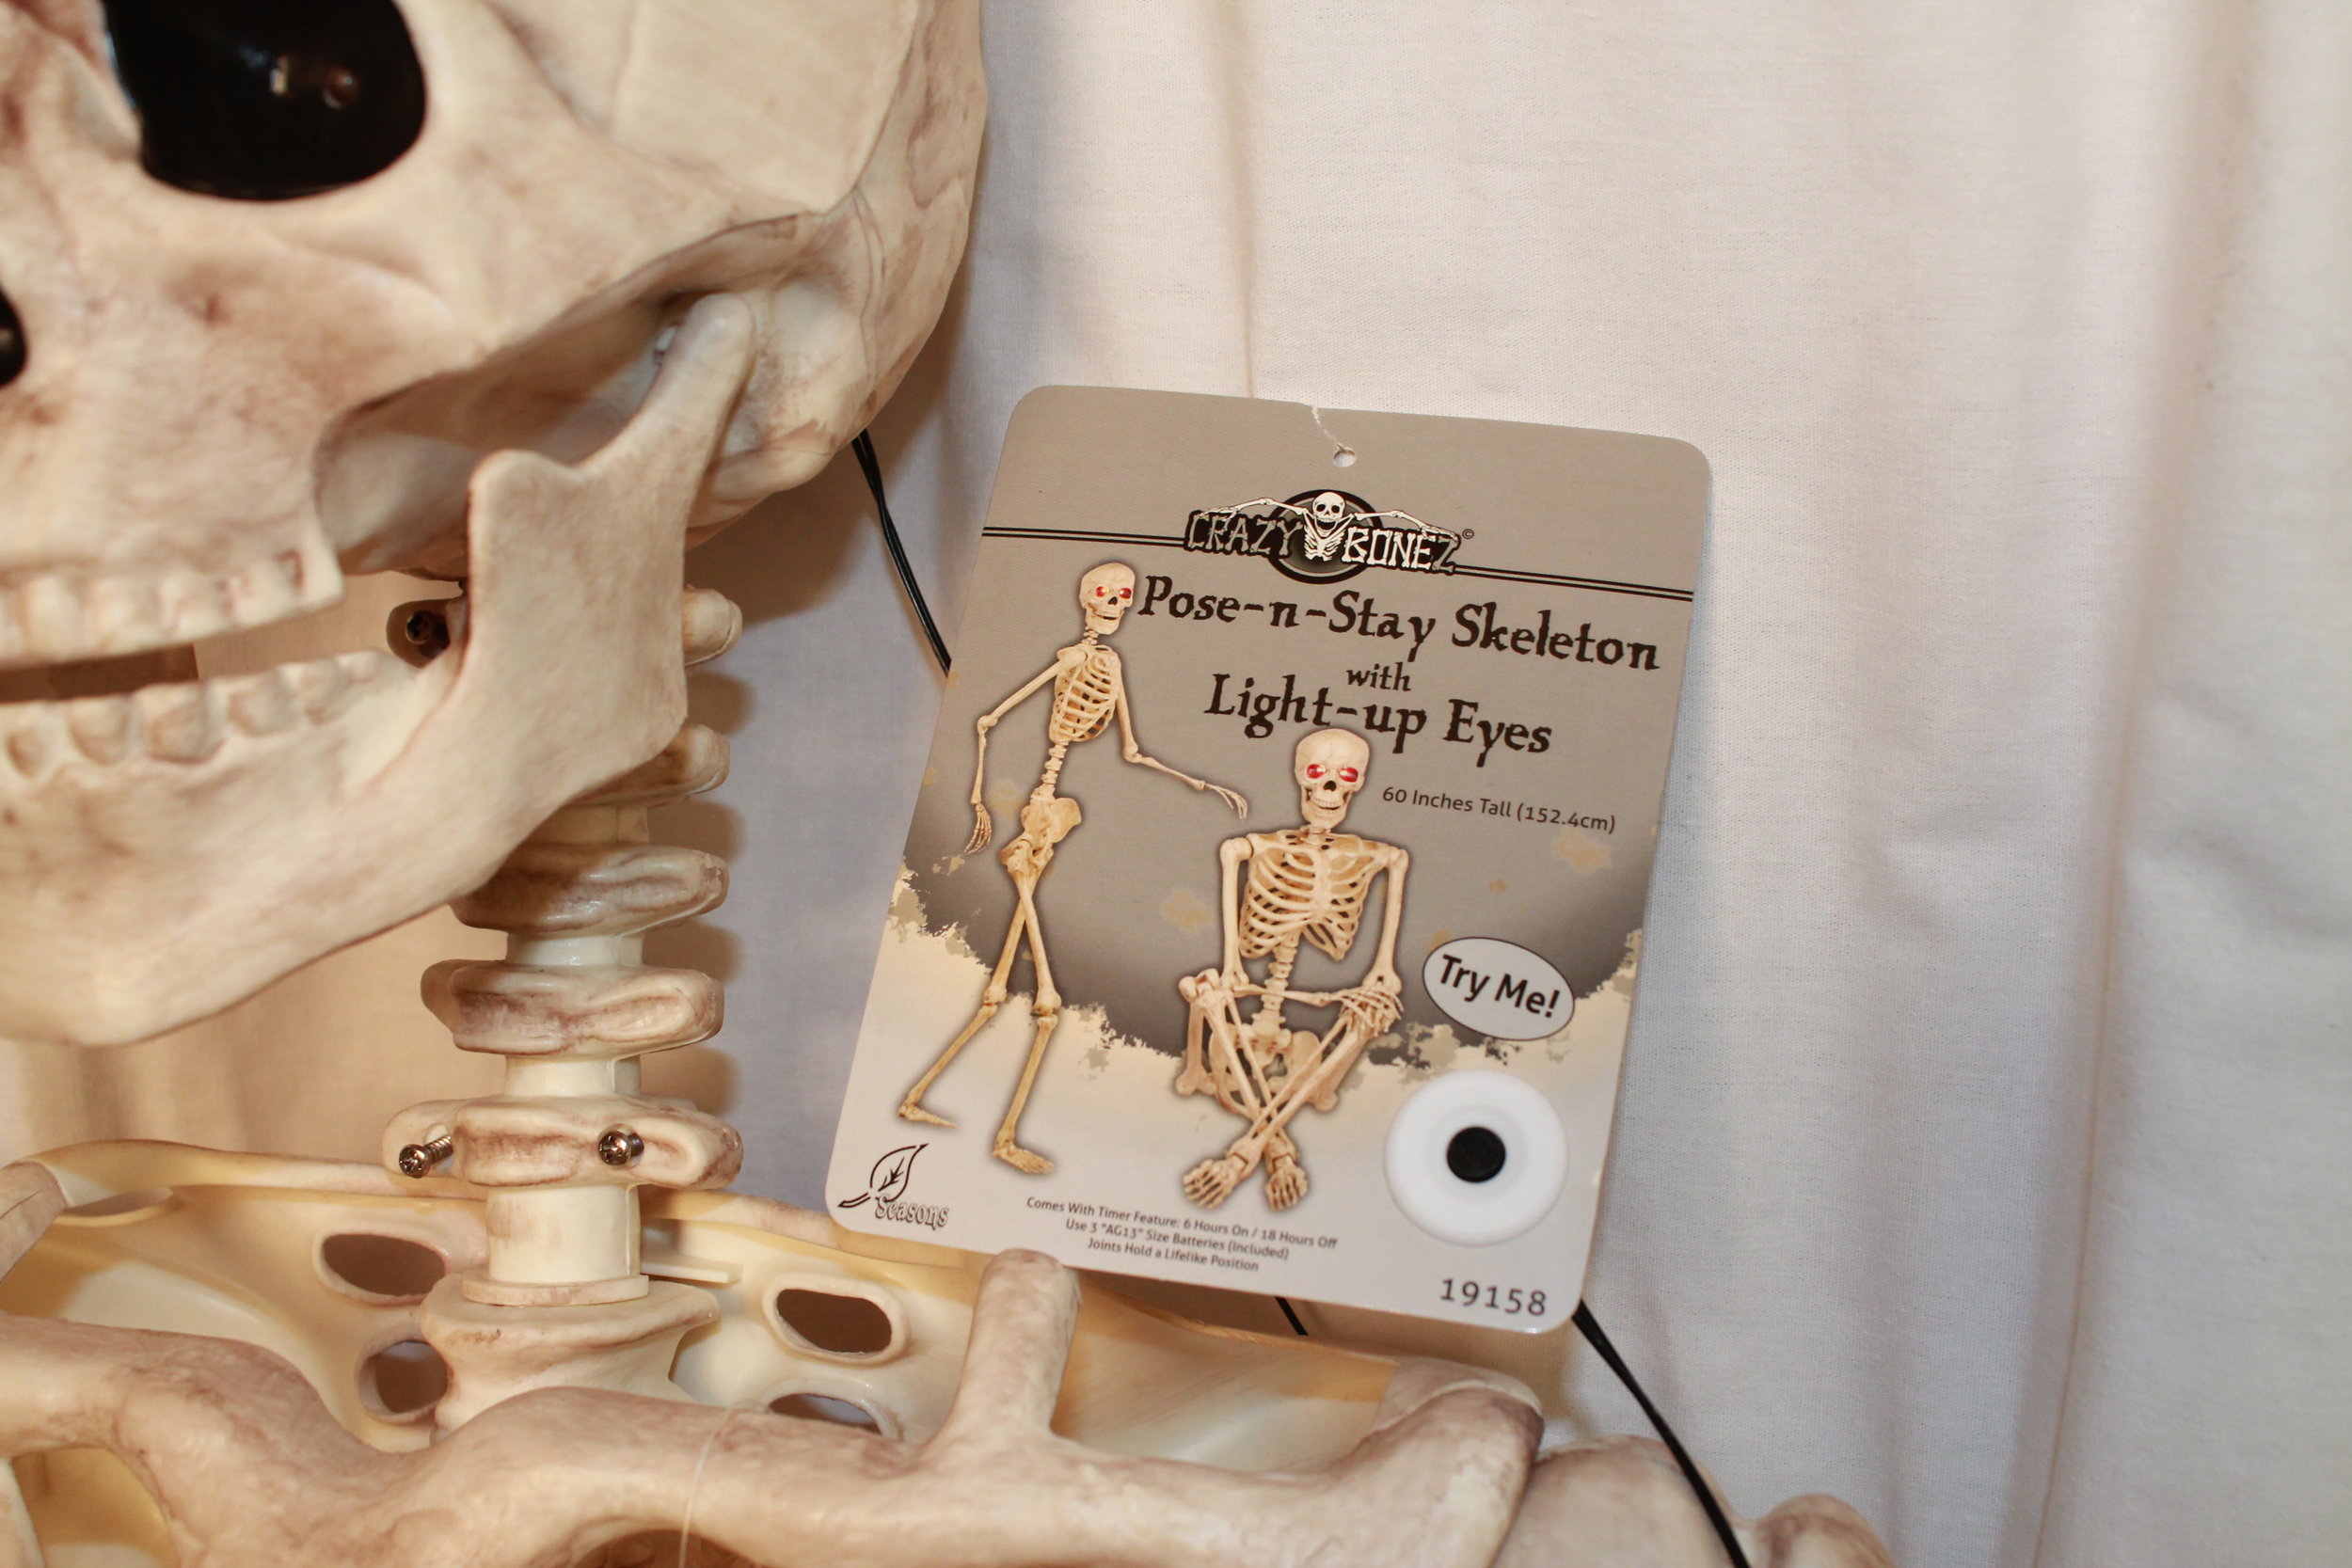
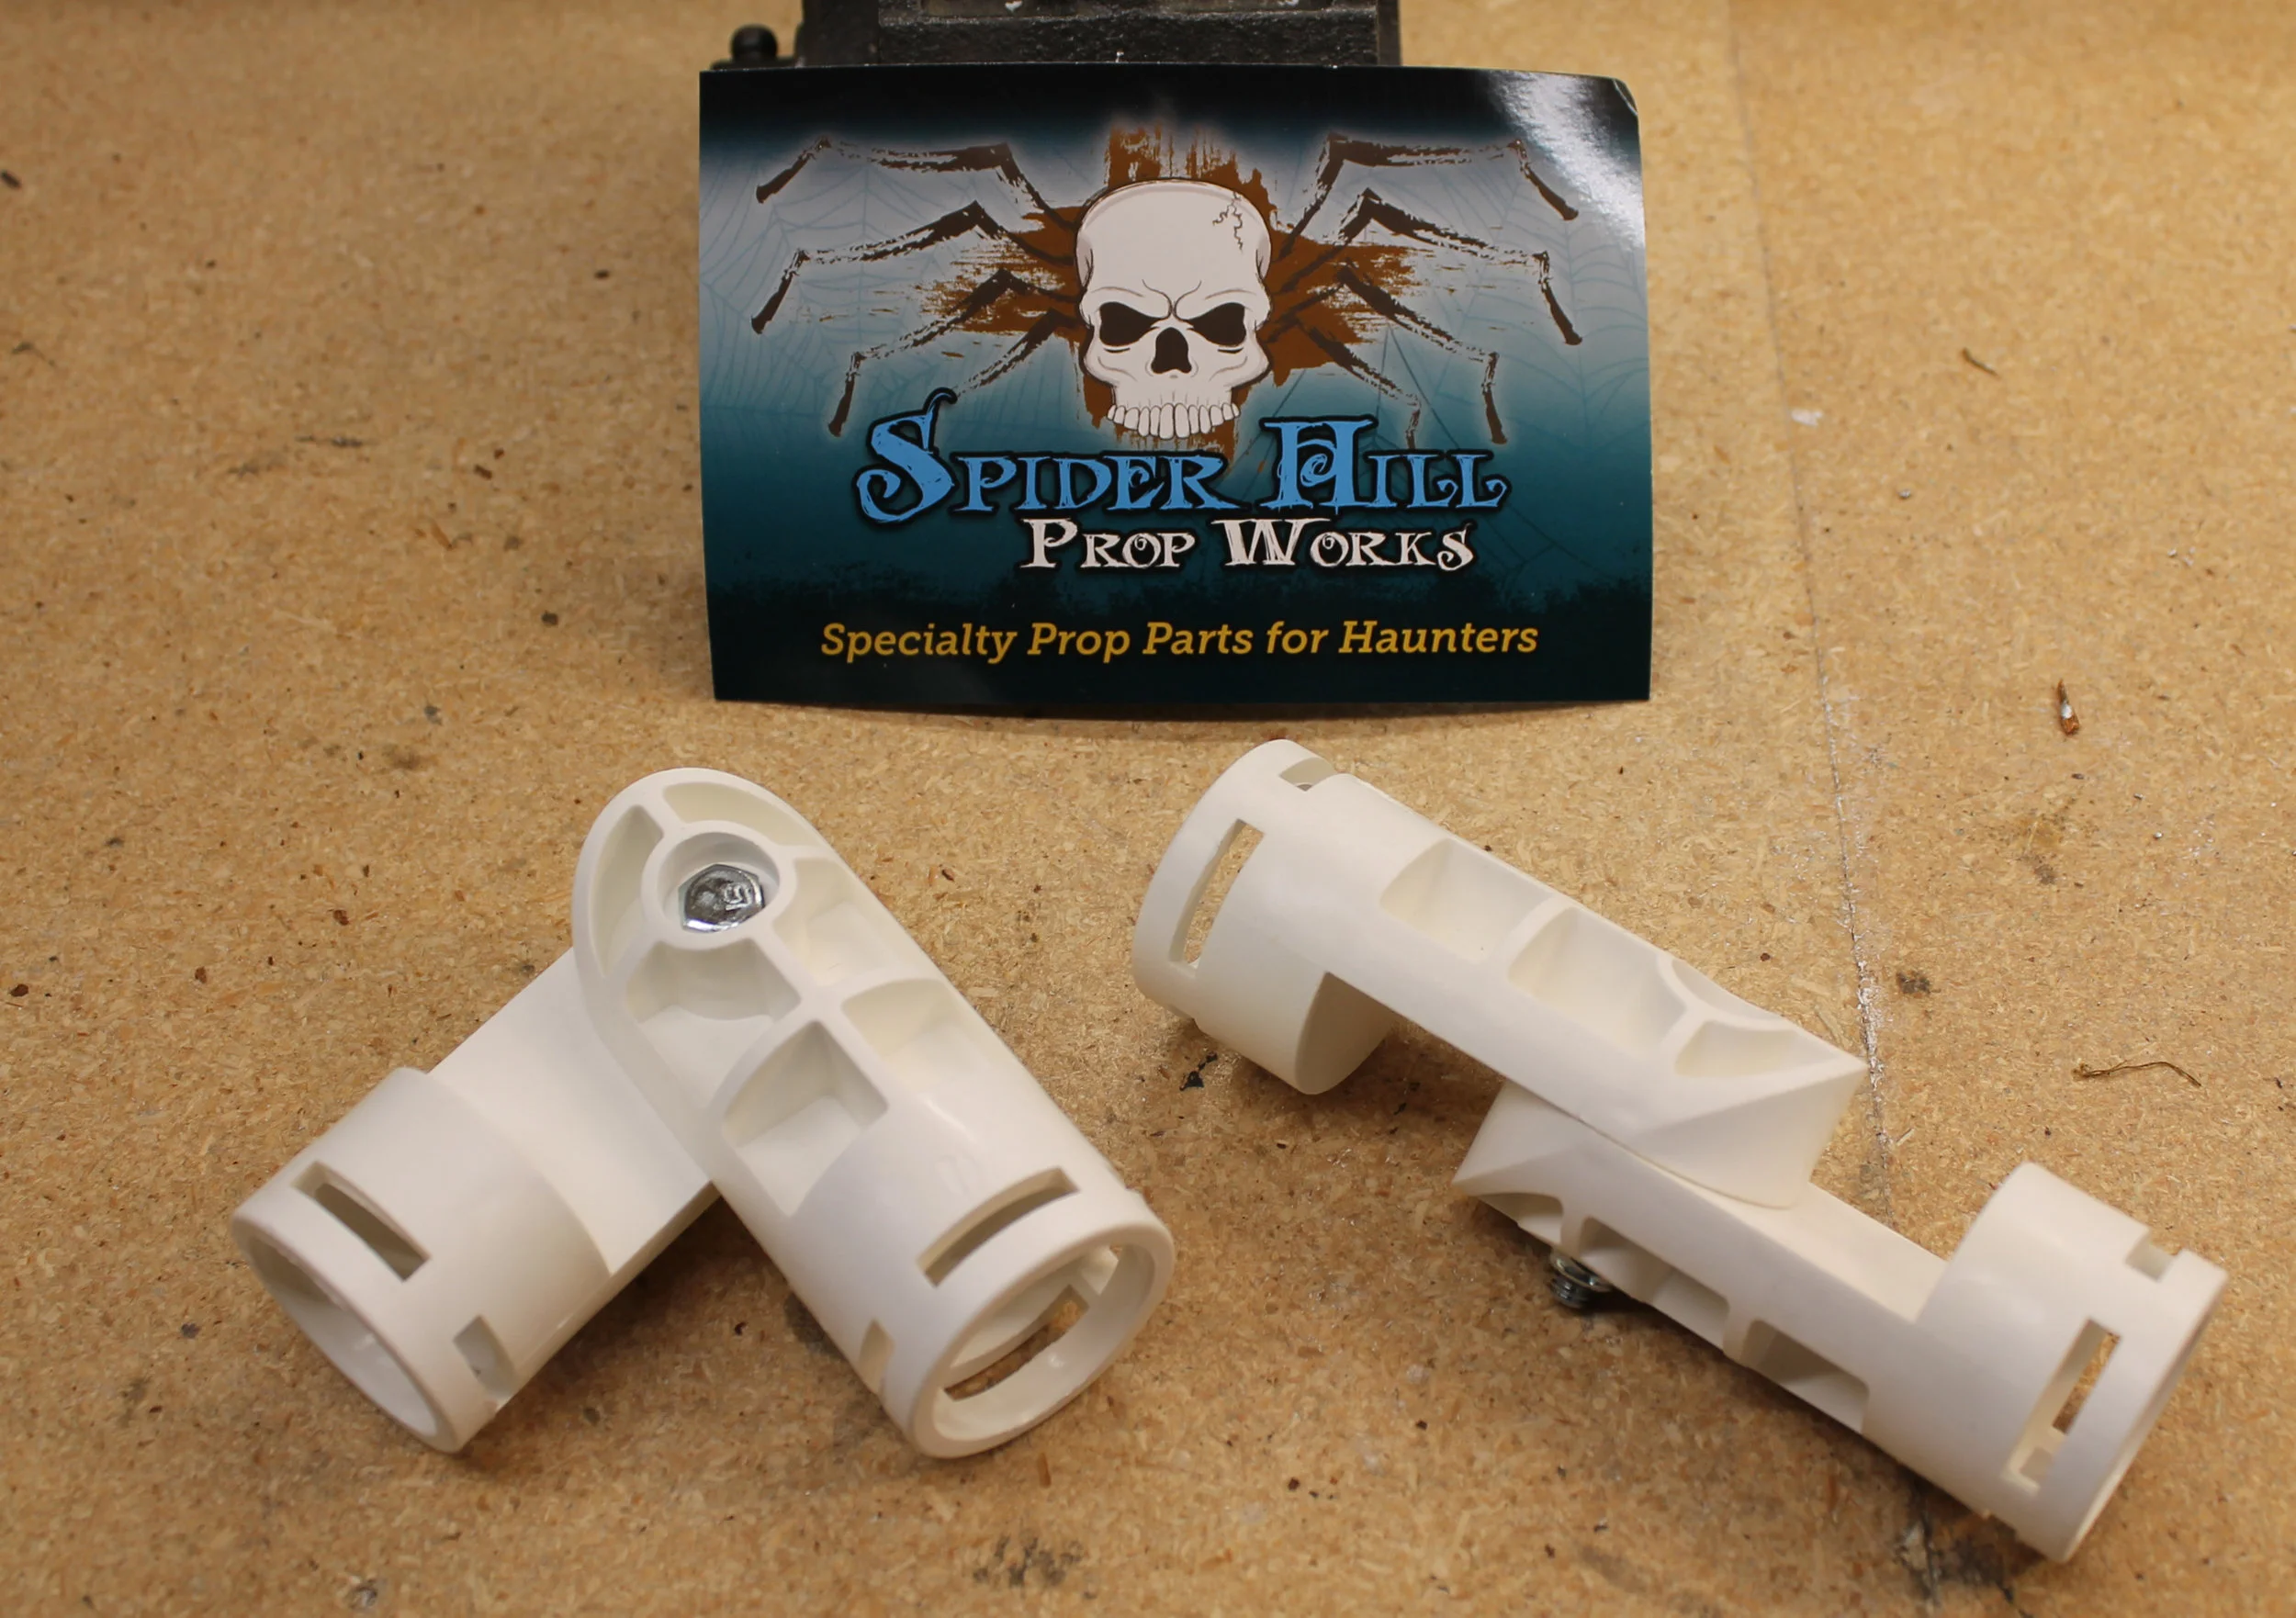
3d printing is one of these changes. Another change is the introduction of new off-the-shelf products meant for use in Halloween haunted attractions. I've recently been introduced to the Spider Joint from Spider Hill Prop Works. It is a versatile plastic joint used in conjunction with 1 inch pvc pipe to create body armatures. The new Thrashing Torso also uses a 12-volt motor from Frightprops, another haunted attraction oriented business. Additionally, a plastic halloween skeleton is used. Some modifications are required and this proved to be the most time-intensive part of the build.
A few other refinements have been incorporated into the design. Bungee cord is used instead of springs and clothesline from the hardware store is used instead of steel cable.
All of these changes make the finished mechanism much easier to make, the parts are easier to acquire, and everything is much lighter.

The Breakdown:
Man Hours Required: ~30 hrs.
I spent about a half a day designing the mechanism in Fusion 360 and I estimate another half a day setting up for the 3d printing and cleaning up the parts as they came out of the printer. Only another day was spent assembling the mechanism. Modifying and mounting the plastic skeleton took the better part of two more days, which includes futzing around with clearances and tensioning the bungee cords. Considering how much time the first Thrashing Torso took to build, this is great.
Cost: ~$158 (total)
Plastic Skeleton $40

Fright Props motor $25

Spider Joints (x8) $28
Misc. Components and Fasteners ~$40
ABS Printer Filament Roll $25
Some Thoughts on 3d Printing:
There has been quite a bit of hype about 3d printing over the past few years. 3d printing is incredibly useful but let me come right out and say that it can be a pain in the ass. The technology is getting better and better all the time, but like any fabrication technique, it takes time to master. This is especially true when 3d printing functional mechanisms. In the next post (or three) I am going to discuss 3d printing and its applications to making animatronics, as well as some of the pitfalls you may be able to avoid.